


Sort By: Featured

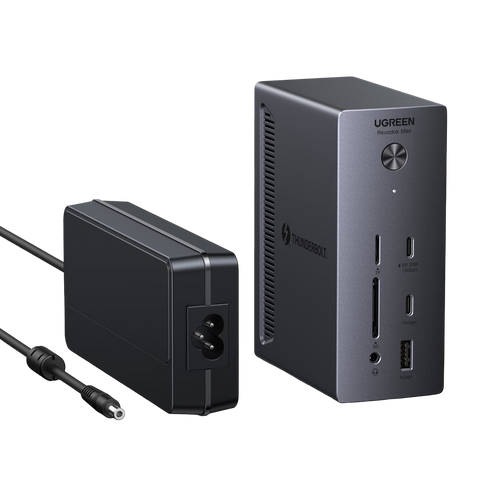
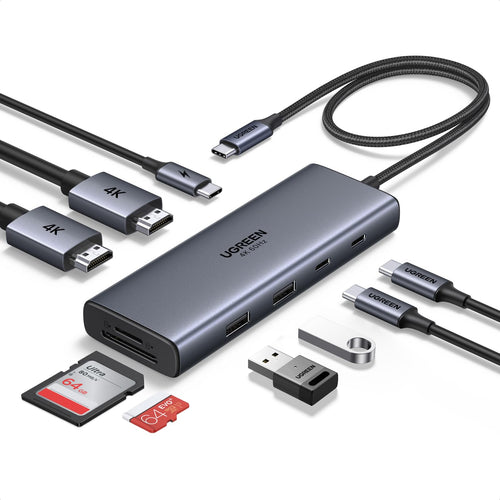
Expand Your Workspace. Simplify Your Life.
FAQ About Docking Station
Upgrading from a Thunderbolt 4 dock to a Thunderbolt 5 dock makes the most sense if your devices and workflow can benefit from the added bandwidth and newer capabilities. If you frequently handle large media files, use advanced monitor setups, or want a more future-ready desk setup, the upgrade may be worthwhile. For general office use, however, a quality Thunderbolt 4 dock may still meet your needs very well.
A Thunderbolt 5 dock is ideal for users with advanced workflows, such as video editors, designers, engineers, and other professionals who use multiple high-performance devices at once. If your setup includes fast external SSDs, high-resolution monitors, and several connected accessories, a Thunderbolt 5 dock can help reduce bottlenecks and improve overall efficiency.
Here’s how to set up dual monitors on your laptop using a docking station:
1. Check dock compatibility: Make sure your docking station supports two monitors. Look for multiple video ports, such as HDMI, DisplayPort, or VGA.
2. Connect the first monitor: Use the appropriate cable to connect the first monitor to one of the docking station’s video ports. Ensure both ends are securely connected.
3. Connect the second monitor: Repeat the process with the second monitor using another available video port.
4. Configure the displays: Open your laptop’s display settings. In most cases, you can do this by right-clicking on the desktop and selecting “Display Settings” or a similar option. Then choose whether to extend or duplicate the display.
5. Arrange the monitors: Adjust the monitor layout in the display settings so it matches the physical arrangement on your desk.
6. Apply the changes: Save your settings to complete the setup. Your laptop should now display content on both monitors.
Docking stations and USB hubs serve different purposes:
1. Versatility: Docking stations are a more complete solution for laptops or mobile devices, offering expanded ports, charging support, and sometimes video output. USB hubs mainly add more USB ports to a device.
2. Port selection: Docking stations usually include a wider range of ports, such as USB, HDMI, DisplayPort, Ethernet, audio jacks, and SD card slots. USB hubs generally focus on USB expansion only.
3. Charging support: Many docking stations can charge laptops or mobile devices while in use. USB hubs typically do not provide the same level of charging capability.
4. Display connectivity: Some docking stations support external monitors through HDMI or DisplayPort. USB hubs generally do not offer video output.
5. Integration: Docking stations are designed to create a more complete desktop-style setup, often through a single cable. USB hubs are simpler accessories that connect to an existing USB port for basic expansion.
When choosing a MacBook Pro dock, focus on power delivery, display support, data transfer speed, and port selection. A good dock should match the performance needs of professional users who rely on external monitors, fast storage, and multiple connected devices. Many of the same features also matter when selecting a MacBook Air dock, especially for users who want reliable connectivity and a cleaner, more efficient workspace. The best MacBook Pro dock should also offer stable long-term performance for editing, design, meetings, and daily productivity.
That depends on your MacBook Air model and chip, not just the dock. Newer models such as MacBook Air with M4 or M5 can support up to two external displays, while older models may support fewer. A dock adds convenience and ports, but it does not increase your MacBook’s native display limit.
A docking station can connect a wide range of external devices, including:
1. Monitors for video output
2. Keyboards and mice for input
3. Printers and scanners for office tasks
4. External hard drives and flash drives for storage
5. Ethernet cables for wired network access
6. Speakers, headphones, or microphones for audio